It can be daunting for emergent writers to stretch out words, especially long words. Many kindergarten students are very artistic and can add details to their pictures, but when asked to add words, they sometimes hesitate or say they don’t know how to, even if they do have some letter-sound knowledge.
Writing Warm-Ups
To get kids to see that they are able to write some words, I started doing writing “warm-ups” at the beginning of our independent writing sessions, and it has helped many of my students become more risk-takers with spelling.
First, kids need to understand what saying a word slowly is. If you tell a student to stretch out a word, they may not understand what you mean. However, if you remind them of Dory in Finding Nemo and show them a clip of her “speaking whale,” they’ll be sure to quickly learn how to say a word slowly (and they’ll likely not want to stop)! Here’s an adorable clip: Dory Speaking Whale.
Characters help make concepts more memorable and fun for kids! Wendy Whale helps them remember to say words slowly to hear the sounds.

Practice speaking whale with some words together, then call on some children to say a word in “whale.” Play this game during snack time, too! “Who’s eating cooooooookieeeeeeeesssss?”
Once students understand how to say a word slowly, you can model stretching out a word to spell it better. I made this poster with my students as a reference.

Of course, they also need to be able to isolate the first sound, which can be a challenge for emergent writers as well. We practice this each day during our phonics time.
2-Step Writing Warm-up
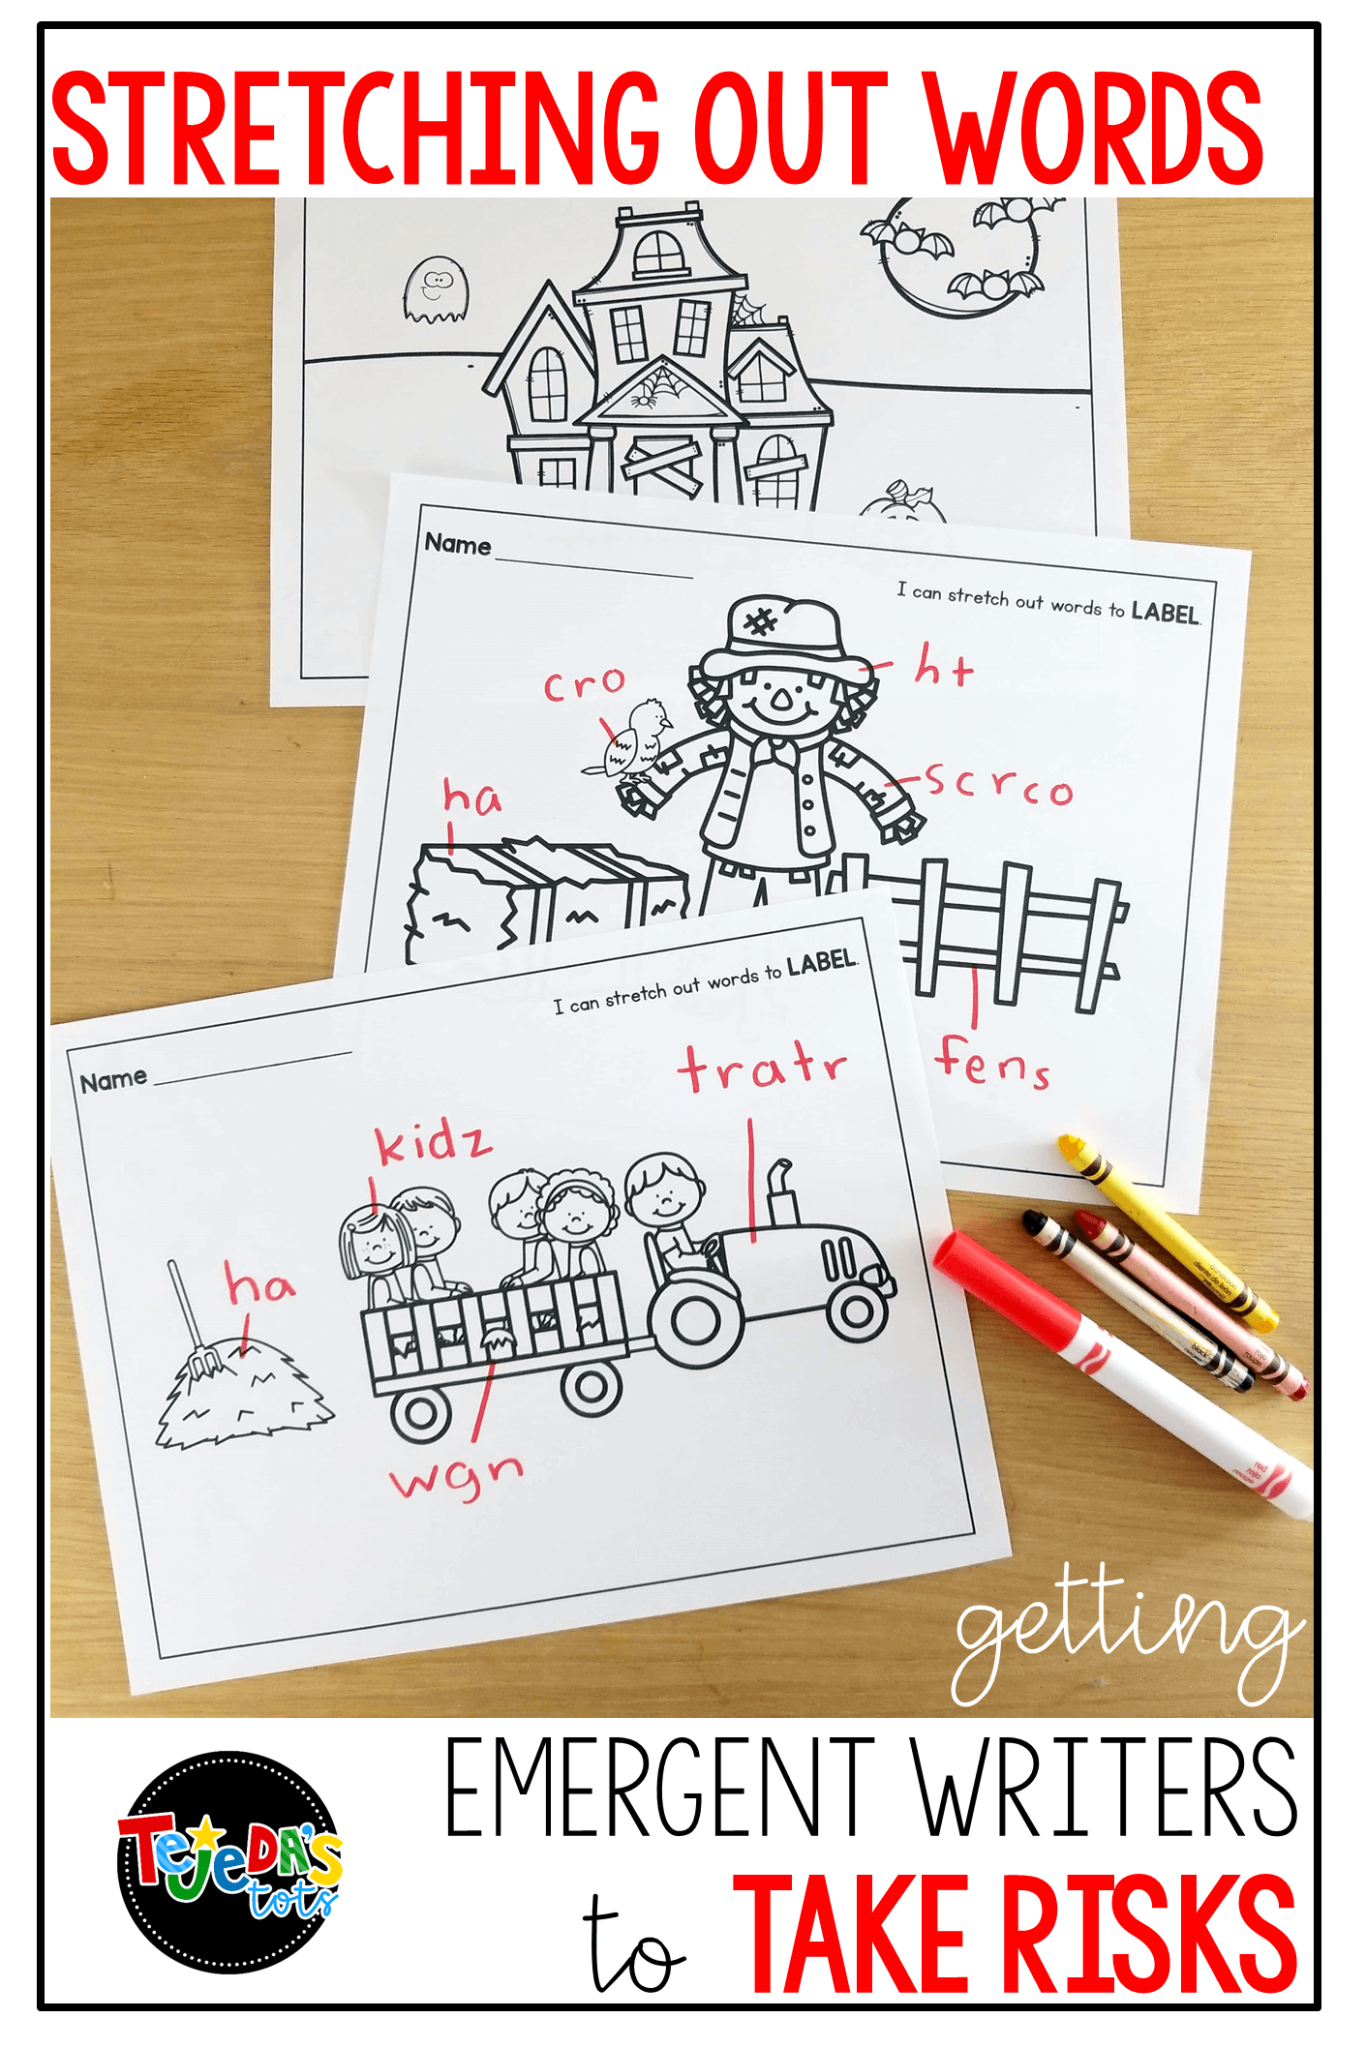
Here is how I start our Writing Workshop time, before students start/continue their independent stories. I display a picture (from my Labeling for Emergent Writers pack) on our interactive whiteboard. (You can also just draw something quickly- a face, house, animal, etc). I use very simple pictures to keep it uncluttered, but they still have so many words you can label!
- I point to one part of the picture and tell students I want to label it. For example, if I have a picture of a face, I might point to the hair. Then, I point to the stretching out poster and ask what step 1 is. Students tell me to say the first sound. I say it, then write the letter. Later on, you can also model how to use an alphabet chart to find the letter that makes that sound.
- Then I ask students what the next step is while pointing to step 2 on our poster. They tell me to say it slowly, and we all do so together. When we stretch it out, we bunch fingers together on each hand, then touch the fingertips from both hands together. We pull our hands apart as we say it slowly. This just adds a kinesthetic element to the skill to help them. If you use Fundations phonics, you can also tap out using the thumb and one finger for each sound.
Point and have them verbalize the 2 steps each time you label a word. The more they repeat it, the more they will remember it when writing independently! Ask them to turn and tell a partner, to repeat the steps in a whisper voice, monster voice, robot voice, etc. Anything to get them to remember those important two steps.
After introducing them to Wendy Whale, you can also ask them, “What does Wendy Whale say?” to trigger the strategy.

Building Confidence in Emergent Writers
At the beginning of kindergarten, I’m just focusing on hearing mostly consonants, since they are easier to hear and identify than vowel sounds. We might spell hair as hr and mouth might be mof. This is ok for now. I do mention that this is not the correct way to spell the word, but that we are learning to spell and this is how beginning writers spell. Sometimes I’ll write the correct spelling and underline letters that we recorded correctly. Your goal is to get kids to write something on their paper, and you can work on being more accurate as you teach your students the phonetic rules. Celebrate every attempt to encourage students to take risks with any words they write.
This whole-group warm-up only takes about 5 minutes (I do about 3 or 4 words each session) and can be done several ways. You can have students come up to record the letters, or have all students record the word on whiteboards or a student notebook. You can also give them a copy of the picture and have them draw the lines to label as you do it on the board. Having them write on a copy of the picture will give you the opportunity to save them and see their progress, as you can ask them to do 1 more label on their own. You can copy 2 to a page if you want to save paper, and cut them in half.
However you do it, I like to have students work at their tables so that at the end of our warm-up, they move to the carpet for our writing mini-lesson and they’re not sitting in one spot for too long.
In addition to labeling words by tapping each sound out, I also want students to recognize that they can use a word they know to help them spell a new word! This is a great strategy for emergent writers.
So I added Word Family Labeling pages to the bundle!

You can get a few free pictures to use below, but you can grab the YEARLONG BUNDLE at a huge discount: YEARLONG Growing Bundle- 100 sets for the year.

Again, simply display on your whiteboard. Eventually, you can just hand out the pictures and have students label independently, then share their attempts with a partner. Just instruct students to draw ONE line at a time and label, then draw another line, label, etc. Otherwise, guaranteed you’ll have a few students that will draw a ton of lines that look like sun rays, and no words.
Get your FREE pages here:

I also just hand out a few markers and let kids go up to the board and pick something to label. This also makes a great morning workstation! Kids love to go up to the board to label the picture, then we share their writing in our morning meeting.

Center LABELING Ideas
This activity is perfect for a center because it has built-in differentiation! Here are some ways to incorporate this in centers:
- Provide 2 different pages for students to choose which one they want to label. As a challenge, you can ask students to write a descriptive sentence at the bottom (The pack includes lined and unlined options to help you differentiate).
- You can encourage more advanced students to add their own details or write more words in the word family!

- Stock your writing center with stamps and paper. Have students stamp pictures, then label them. I’ve amassed a fortune of themed stamps over the years! I keep them in labeled bags and take them out seasonally.
- Have students use alphabet stamps to record the first letter, then write the rest.
- Cut out pictures from magazines and laminate. Students can use dry-erase markers to label.
- Buy stickers from your local dollar store or Michael’s Arts & Crafts. Have kids use some to create a scene. TIP: It’s best to let them know how many stickers they can take so they don’t empty your entire book! Then they can draw around the stickers and label everything.

- I also have a Label it & Write pack that is perfect for use during centers. The 5 themes are differentiated so students can label the entire word, cut and paste the labels, or write the rest of the word on pages that have the beginning sounds. It also includes stationery so kids can write about the picture after labeling it.

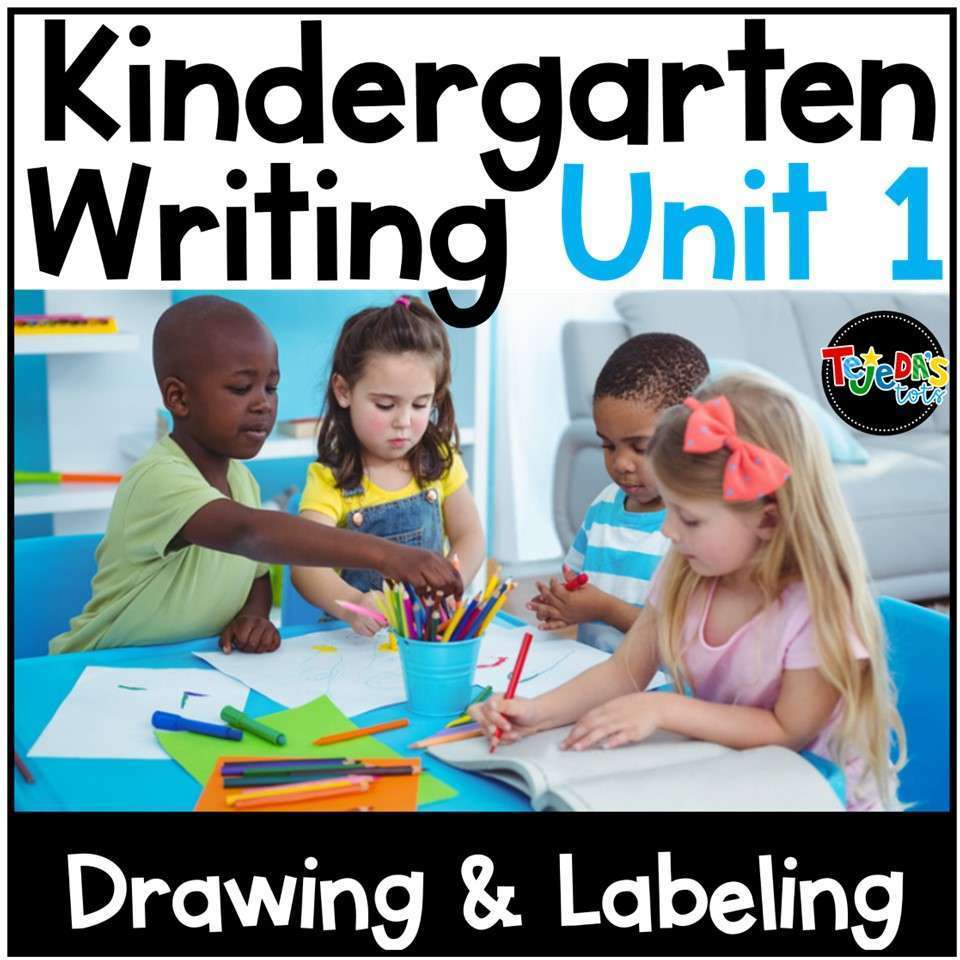
An Entire Unit on Drawing and Labeling
For a more comprehensive, step-by-step unit on getting kids from drawing to labeling, check out my Kindergarten Writing Unit 1. It includes all you need to launch your writing at the beginning of the year and help your students build foundational writing skills.
What other ideas do you have to help your emergent writers take risks when spelling? I’d love to read your comments below!
Thanks for reading! If you got some good tips, consider sharing this post by pinning the images. Thank you!
Leave a Reply